Download GambOS 2.0 build 27 iso.
This iso is suitable for installation on a regular amd64 supported system or a Virtual Machine (QEMU/KVM or Virtual Box)
Install GambOS 2.0 build 27 iso.
This page provides a step-by-step instruction for installing GambOS 2.0 build 27 educational preseed.
Requirements:
- An 64-bit system or a system running a virtual machine (KVM/QEMU or Virtual Box)
- A 4 GB (or bigger) USB stick (if installing on a system).
- A Linux system to put the iso onto the USB stick.
For VM's you can directly boot from the downloaded .iso file on your disk when creating the new virtual machine. Just select the iso as source to installing from.
To boot a real system with the .iso you will first need to create a bootable USB, tools like dd are suited for this. You will need to know how to access your Boot menu for starting your computer, a search on the internet should point you to the correct key to hold down on boot (Often [F2] or [F10]).
First you need to insert a USB stick into your system, then go to the folder you downloaded the iso to, to figure out what device to write to. Open a terminal and do following:
In terminal:
cd /folder/you/dowloaded/the/iso/to
lsblk
On my system following is returned:
NAME MAJ:MIN RM SIZE RO TYPE MOUNTPOINTS
sda 8:0 1 1,9G 0 disk
nvme1n1 259:0 0 465,8G 0 disk
└─nvme1n1p1 259:2 0 465,8G 0 part /home
nvme0n1 259:1 0 465,8G 0 disk
├─nvme0n1p1 259:3 0 512M 0 part /boot/efi
├─nvme0n1p2 259:4 0 464,3G 0 part /
└─nvme0n1p3 259:5 0 976M 0 part [SWAP]
In my case my USB is represented by /dev/sda, you might get a different result. A USB is typicaly represented as sda, sdb or something similar.
Since this is the USB I want to write the iso to, /dev/sda is the proper choice to use for /your/usb/disk in upcoming command to create the bootable USB. It might be different for you. A special thanks to Poly (user @gambas.one) for mentioning this in one of the iso testing discussions.
WARNING: Ensure you have an up-to-date backup of the data on the computer as incorrect use of the dd command could wipe the wrong disk.
In terminal:
sudo dd if=gambos-2.0-build-27-bookworm-mate-amd64.iso of=/your/usb/disk bs=4M oflag=sync status=progress
Booting gambos-2.0-build-27-bookworm-mate-amd64.iso.
Once you have a USB stick with the iso installed, insert the USB stick into the computer you want to install. Start this computer, pressing the key required to access the Boot menu. When the Boot menu appears, select the USB stick to boot from.
If you successfully boot gambos-2.0-build-27-bookworm-mate-amd64.iso from USB, you will be presented with the GambOS menu providing 1 option:
- Install GambOS 2.0 build 27 educational preseed (amd64): This will install GambOS and will be discussed in this document.
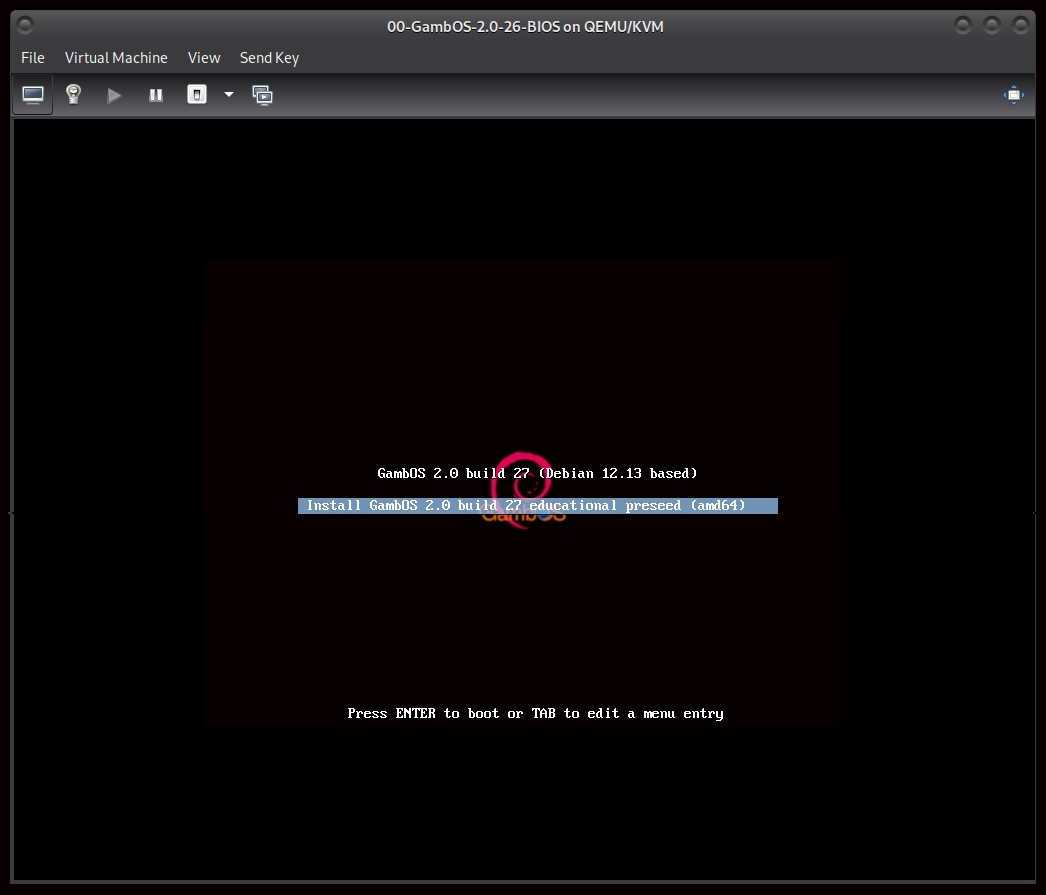
GambOS menu
Install GambOS 2.0 build 27 educational preseed.
Selecting Install GambOS 2.0 build 27 educational preseed (amd64) will do most of the work creating a proper ecosystem for learning Gambas 3. Applications that are installed, username, hostname and such are predetermined.
GambOS will be installed in English as all materials and screenshots are (or will be) developed on GambOS using the English language. This ensures that default folder names like Desktop, Documents, Pictures etc are not localized and thus exactly the same as used in the guides.
This install will NOT install a root account, but will create the user account gbuser. This user account has administrative priveledges using sudo. You will be able to set your password and some other options during the installation.
After choosing Install GambOS 2.0 build 27 educational preseed (amd64) the installation will start. We will go through the choices that are left to be made.
Select your location
You can choose your location, so your time and date can be set to your region. Depending on what you choose, there might be some more follow up screens, as shown below.

Select your location
Configure locales.
Next step is to select your locales. These determine date and time format, decimal separator and more.

Configure locales
Configure the keyboard
After locales, there is the keyboard layout to select.

Configure the keyboard
Setup users and password
A user named gbuser is preinstalled, all that needs to be done is provide the account password twice

Setup users and password

Setup users and password
Partition disk.
Next select how you want to partition your disk. If new to this, select Guided - use entire disk

Partition disk
Then select the disk to partition.

Partition disk
Next 2 steps are to ensure you agree to actually write changes to the disk.
WARNING: Existing data on the selected disk will be overwritten after this is done.

Partition disk
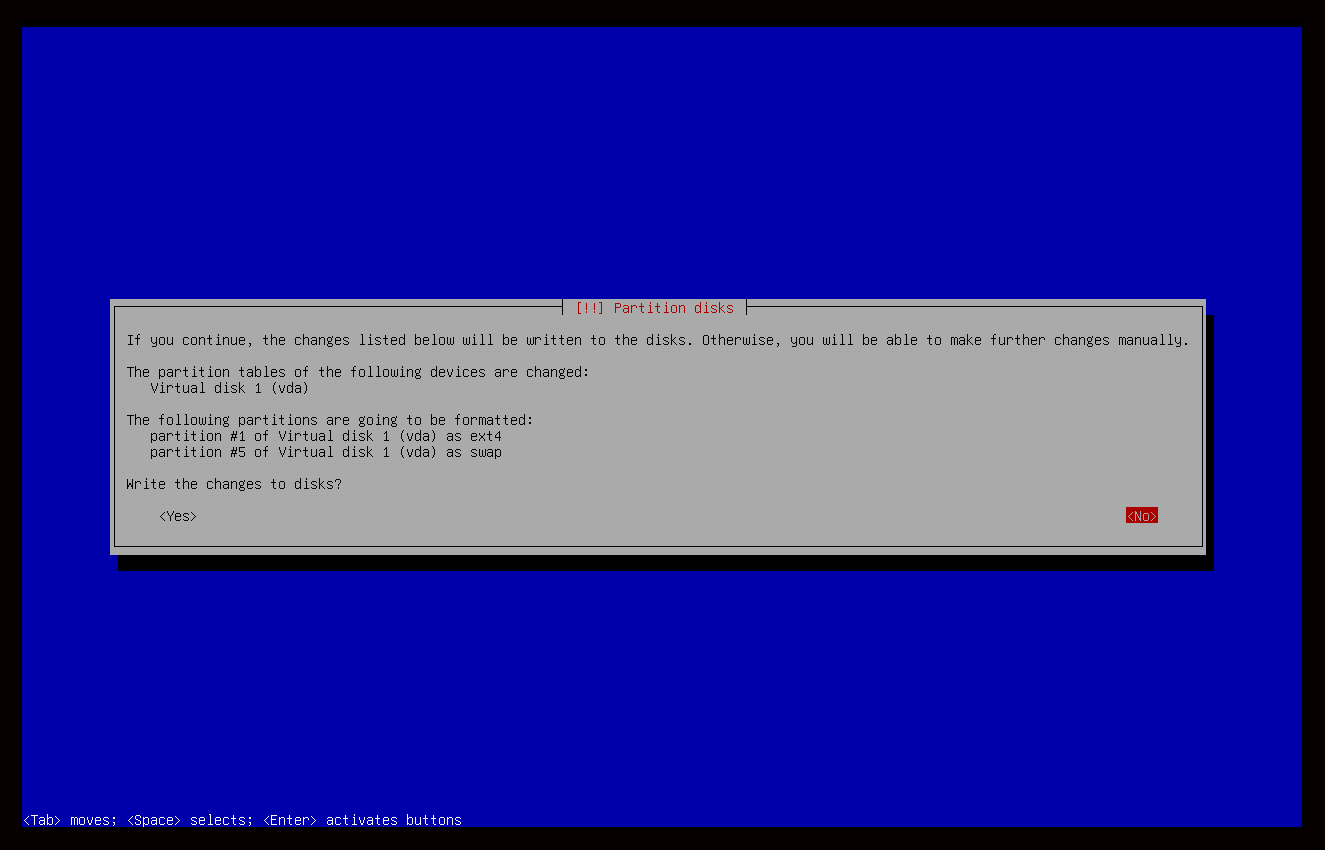
Partition disk
Configure console setup
Encoding for the console needs to be set. UTF-8 is recommended.
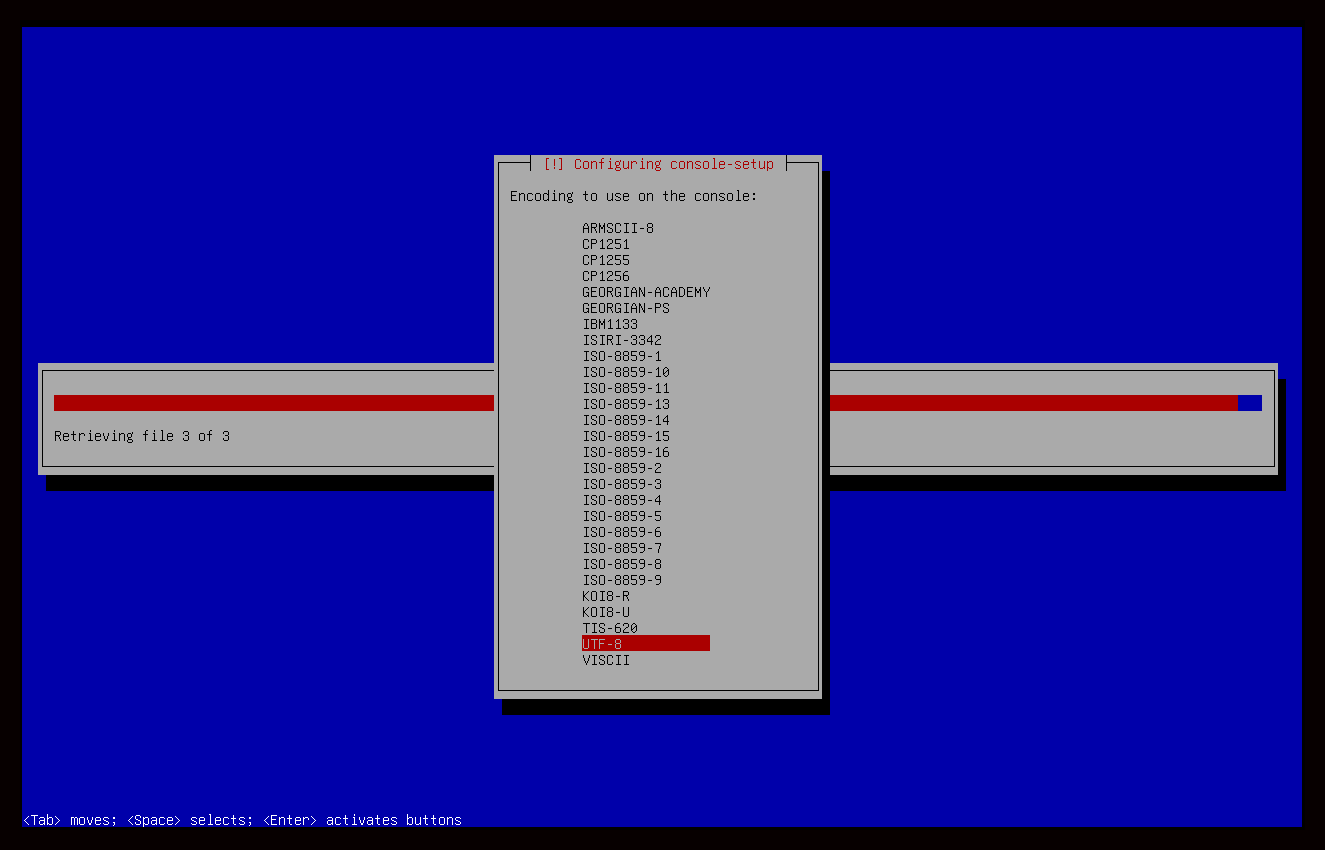
Configure console setup
Configure the package manager.
It is advised to choose yes here and select a mirror in your country to enable you to download packages for your GambOS installation. You'll get 3 screens for setting this up.

Configure the package manager
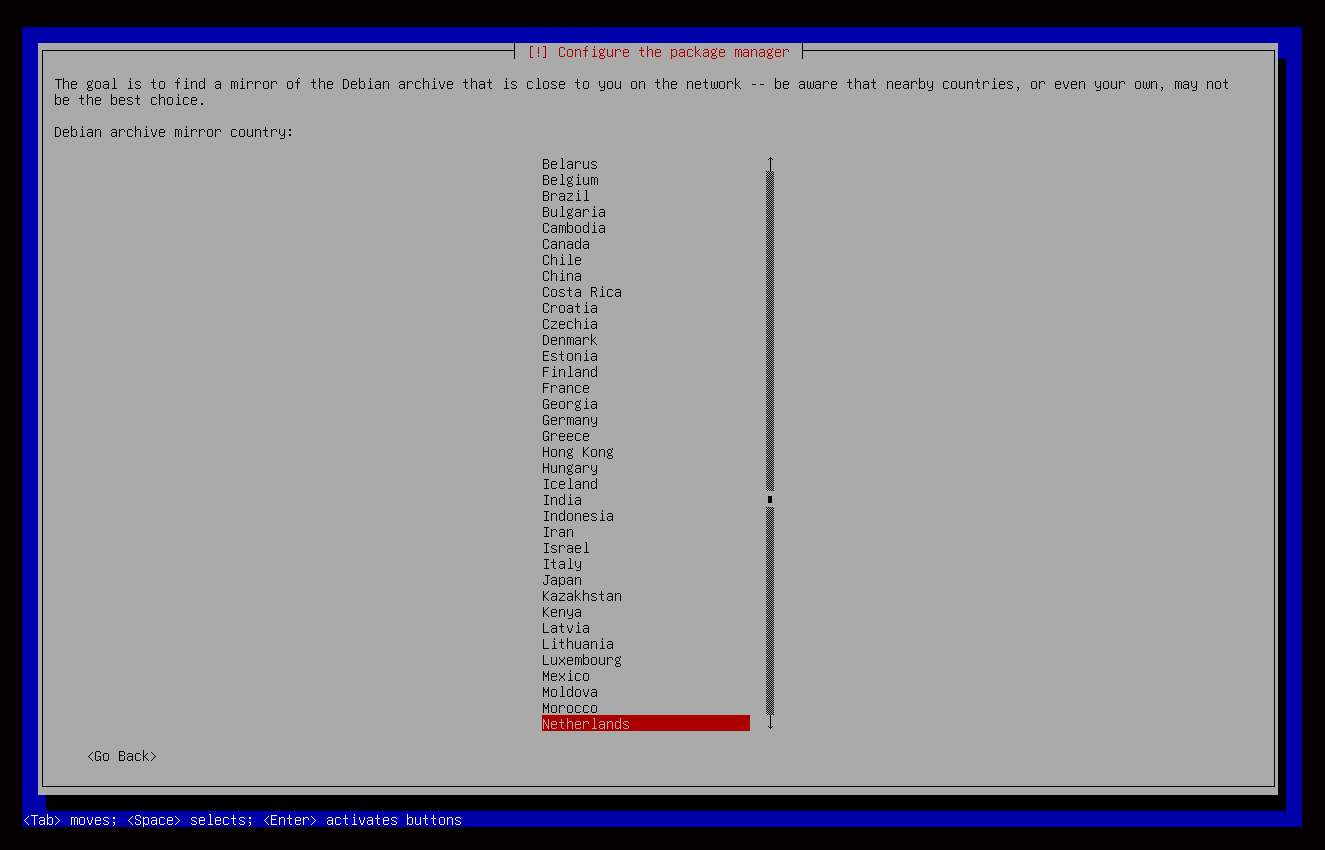
Configure the package manager
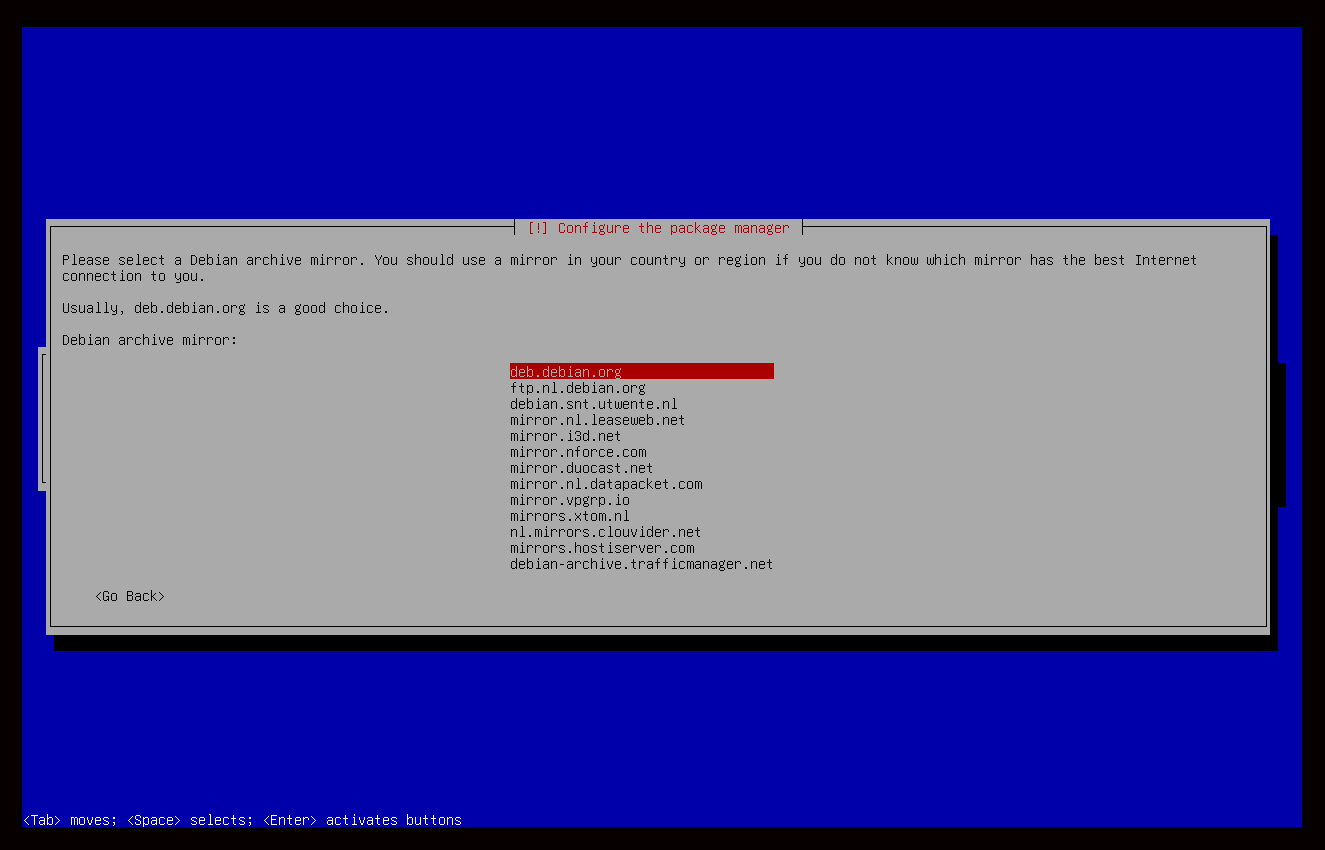
Configure the package manager
Configuring grub-pc.
Last step is selecting which partition to install grub on. Usually this is the same partition you selected earlier.

Configure grub-pc
Reboot and login.
After the installation, the system will reboot into the GambOS desktop login. You can login with user gbuser and the password you set during the installation.
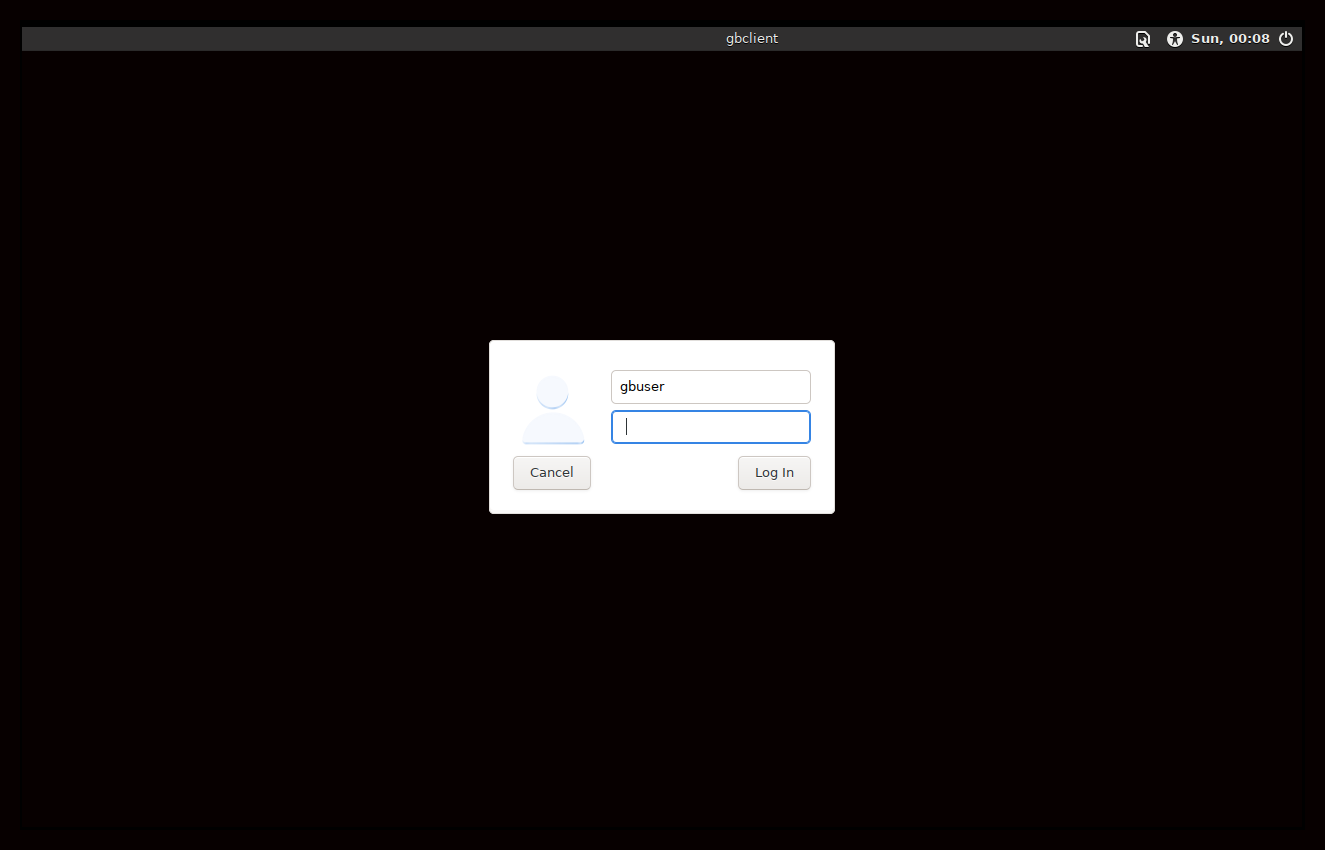
Login after reboot
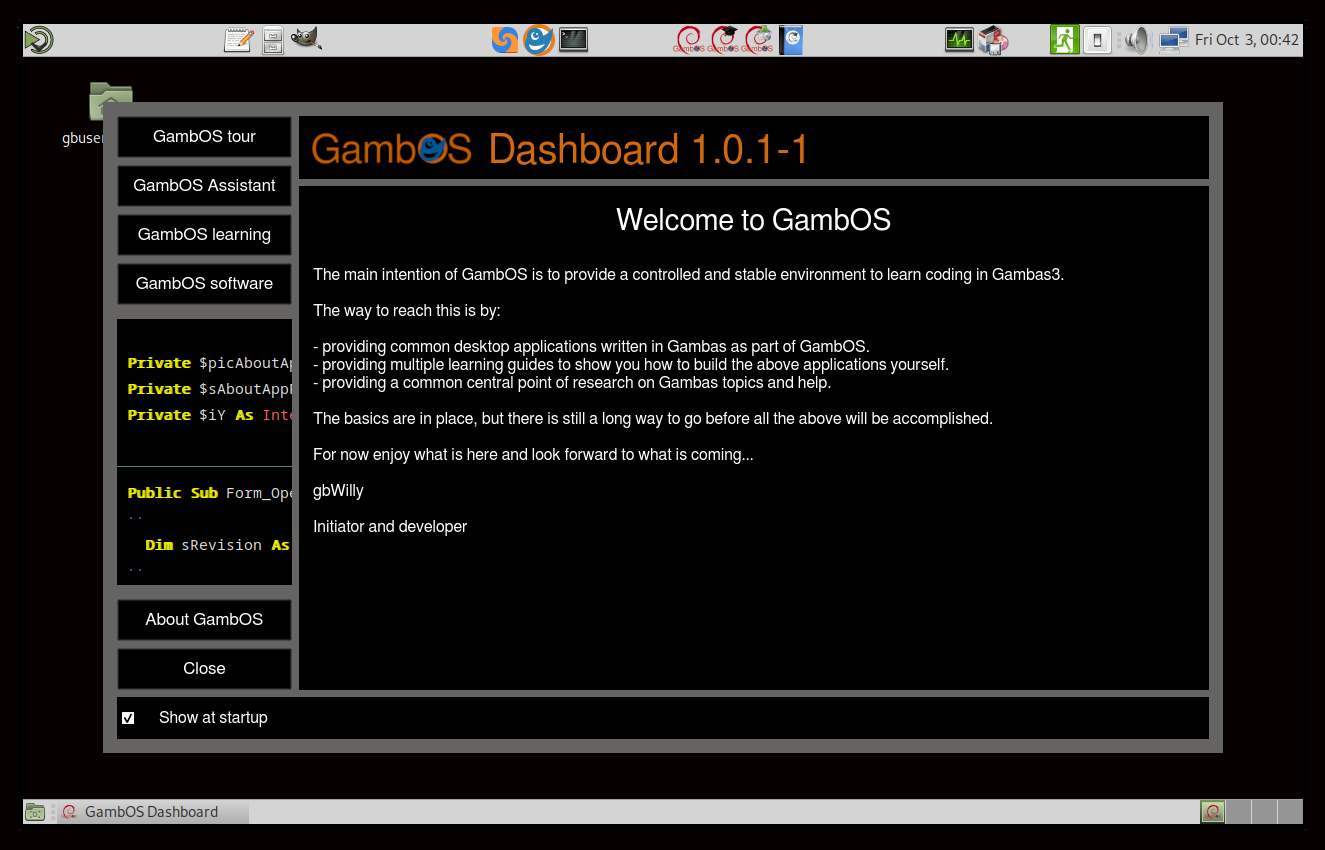
GambOS Dashboard to guide you around
You are ready to start your adventure.
My advise is to first run the GambOS tour in GambOS Dashboard to get a quick impression of what is available and why. When new to Linux I strongly advise you to first install and study GambOS Background Guides - Book 1: Introduction to GambOS before starting with the Gambas guides.
You can install the guides from GambOS Software Center that comes pre-installed on your system.
Happy GambOSing...